
Azure Virtual Desktop Quickstart is a fantastic way to get in the game with AVD. Being able to quickly set up a host pool can allow you to accomplish:
- AVD testing
- Proof of concepts or pilots
- Connectivity with various devices using the Windows App on the following device types
- Windows
- macOS
- iOS/iPadOS
- Android/Chrome OS (preview)
- Web browsers
- Meta Quest VR headset (preview)
Big Chris Recommends: “Officially” test Windows App on devices where the app is GA.
Download the Windows App for Windows here!
While Quickstart is great to test AVD in a test or “proof of concept” scenario. However, DO NOT use AVD built with Quickstart in a production environment!
To get started with AVD Quickstart:
- Sign into the Azure portal with your Azure account. Browse to Azure Virtual Desktop and select “Quickstart.”
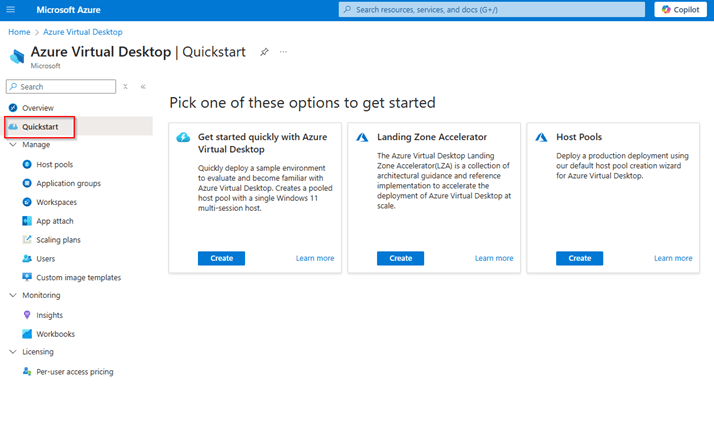
2. Under “Get started quickly with Azure Virtual Desktop,” click “Create.”

3. Fill out the appropriate information and assign max two users (or a group with 2 users), then click “Review + Create.”

4. It will take approximately 15-20 minutes. It is a bit longer than a “standard” AVD deployment of the same size because Quickstart will build all of the Azure infrastructure needed for AVD. A Resource group, VNet, as well as the host pool and the session host (VM).
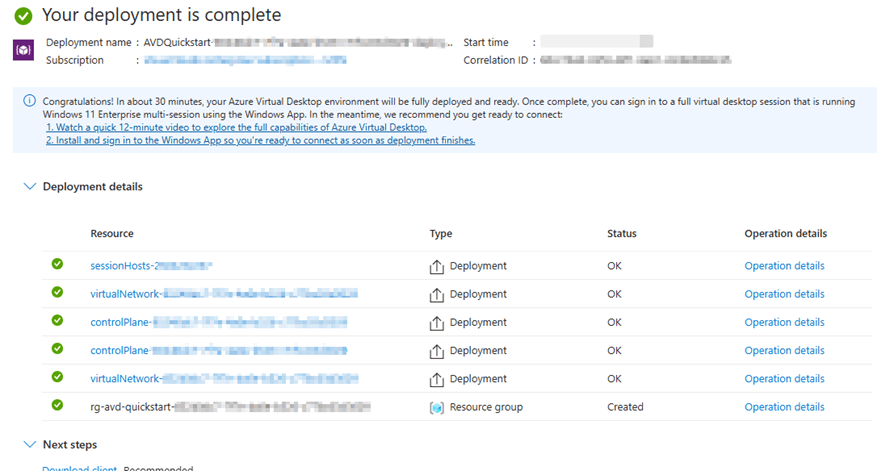
Big Chris’s Notes: If you have time, watch the video linked in this screen, as well as take the time to download and install the Windows App.
Here is the complete host pool and other resources built with Quickstart.


You are ready to go! Log in with the Windows App and kick the tires on AVD!

Leave a comment